Difference between revisions of "Obliterator"
| (2 intermediate revisions by the same user not shown) | |||
| Line 1: | Line 1: | ||
== Boss == | == Boss == | ||
| − | <i>To go back to bosses page, [[Bosses|click here]]</i> | + | <i>To go back to bosses page, [[Bosses List|click here]]</i> |
<hr> | <hr> | ||
[[File:Obliterator2.gif|link=]] | [[File:Obliterator2.gif|link=]] | ||
| Line 20: | Line 20: | ||
<td align="left" valign="top"> | <td align="left" valign="top"> | ||
<center>'''[[Items|Boss Items]]'''</center> | <center>'''[[Items|Boss Items]]'''</center> | ||
| − | [[File:Boss Coin2.gif|link=]] [[Boss Coin Shop|boss coin]]<br> | + | [[File:Boss Coin2.gif|link=]] [[Boss Coin Shop|1-2x boss coin]]<br> |
[[File:Relic Chest.gif|link=]] [[Relics#Relic_List|relic chest]] | [[File:Relic Chest.gif|link=]] [[Relics#Relic_List|relic chest]] | ||
| Line 40: | Line 40: | ||
</td> | </td> | ||
<td align="left" valign="top"> | <td align="left" valign="top"> | ||
| − | <center>''' | + | <center>'''[[Jewelry]]'''</center> |
[[File:Crystal Coin.gif|link=]] 1-6x crystal coin | [[File:Crystal Coin.gif|link=]] 1-6x crystal coin | ||
| + | |||
| + | [[File:Giant Amethyst.gif|link=]]giant amethyst<br> | ||
| + | [[File:Giant Ruby.gif|link=]] 1-2x giant ruby | ||
| + | |||
| + | [[File:Giant Emerald.gif|link=]]1-2x giant emerald | ||
| + | |||
| + | [[File:Giant Topaz.gif|link=]]1-2x giant topaz | ||
| + | |||
| + | [[File:Giant Sapphire.gif|link=]]giant sapphire | ||
</td> | </td> | ||
<td align="left" valign="top"> | <td align="left" valign="top"> | ||
| Line 63: | Line 72: | ||
[[File:petphysical.gif|link=]][[File:petdistance.gif|link=]][[File:petmagic.gif|link=]][[File:petdmg.gif|link=]][[File:petmelee.gif|link=]]</center> | [[File:petphysical.gif|link=]][[File:petdistance.gif|link=]][[File:petmagic.gif|link=]][[File:petdmg.gif|link=]][[File:petmelee.gif|link=]]</center> | ||
</td> | </td> | ||
| − | <td align="left" valign="top"> | + | <td align="left" valign="top"></td> |
| − | |||
| − | |||
| − | |||
| − | |||
| − | |||
| − | |||
| − | |||
| − | |||
| − | |||
| − | </td> | ||
</tr> | </tr> | ||
</table> | </table> | ||
Latest revision as of 23:40, 11 August 2026
Boss
To go back to bosses page, click here

 Classification: Bane
 Location: Chambers of the Grim Reaper
 Health: 220k
 Experience: 22k
Bosstiary Progress
 Prowess: 10 kills
 Expertise: 30 kills
 Mastery: 100 kills
Loot Table
|
|
|
|
      |
     |


 1-6x crystal coin
 giant amethyst
 1-2x giant ruby
 1-2x giant emerald
 1-2x giant topaz
 giant sapphire
 1-16x ultimate mana potion
 1-16x ultimate spirit potion
 1-16x supreme health potion
 1-5x mastermind potion
 1-5x bullseye potion
 2-5x berserk potion


Location
Requires level 350
1. Take the waypoint to Aurora - Chambers of the Grim Reaper
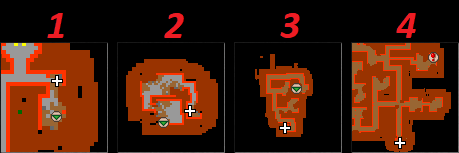
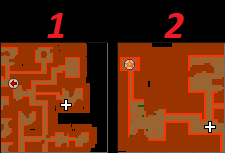
2. Follow the maps below to get the Bone Key.
- On map 1, use your pick on the ground to open a hole.
- On map 4, take care with the purple fire because they can hit up to 1k damage.
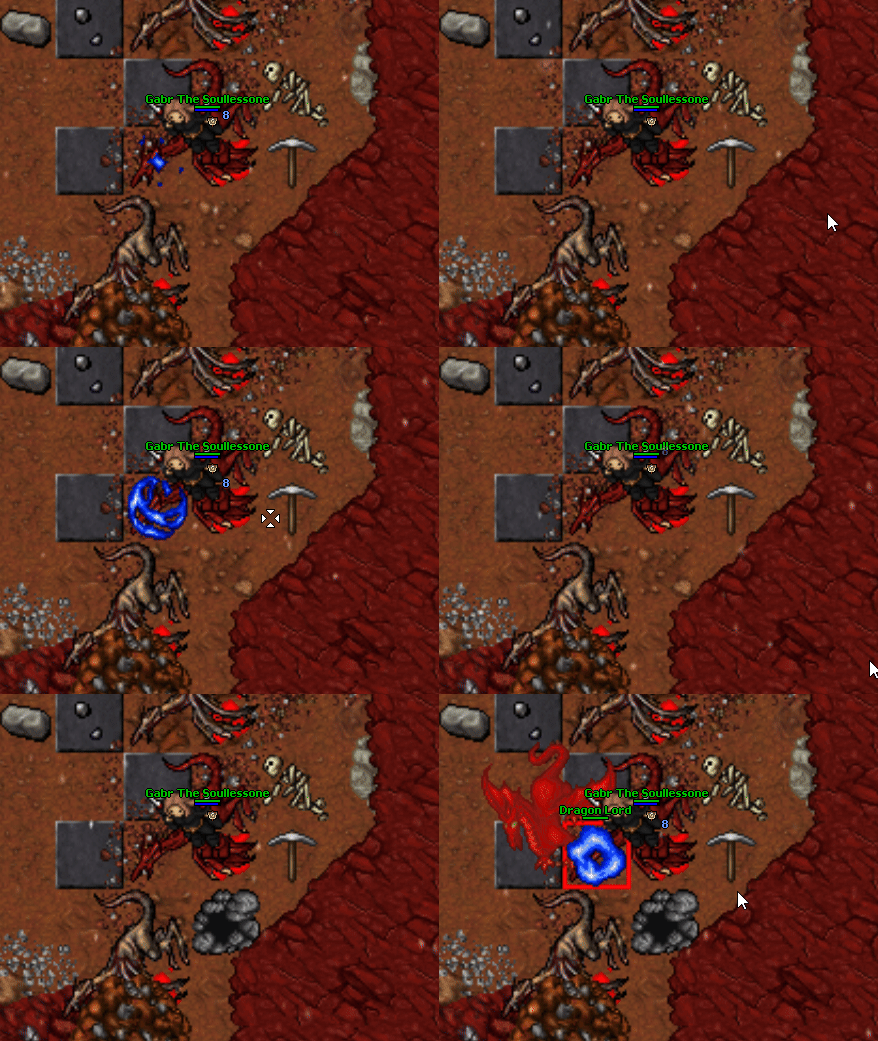
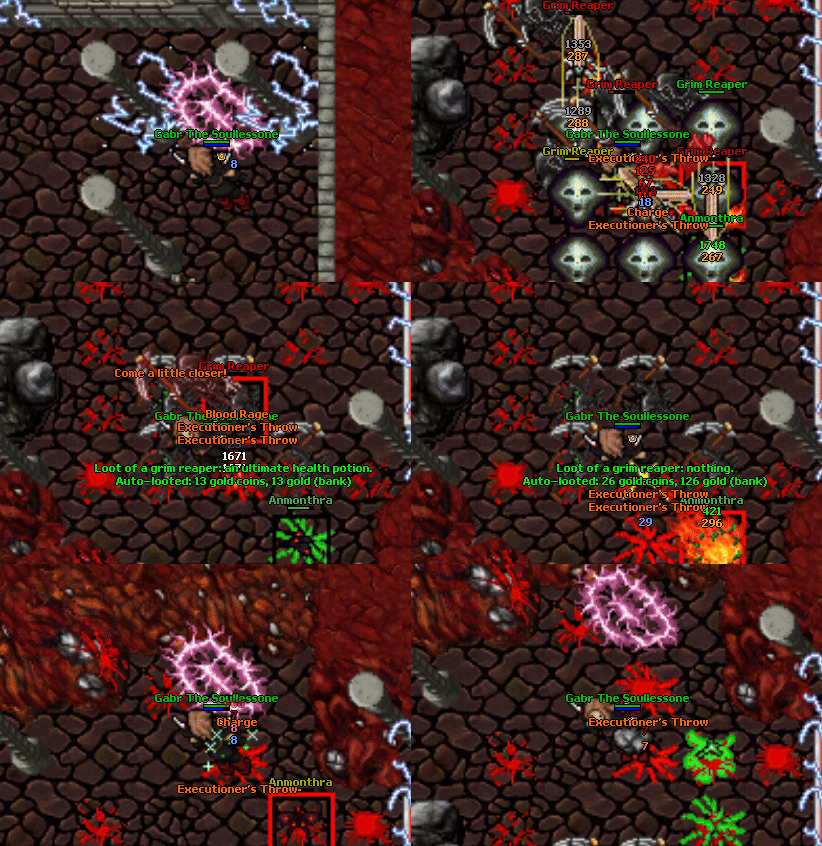
3. Enter on the energy gate and kill Anmonthra, then leave through the teleport on the north.
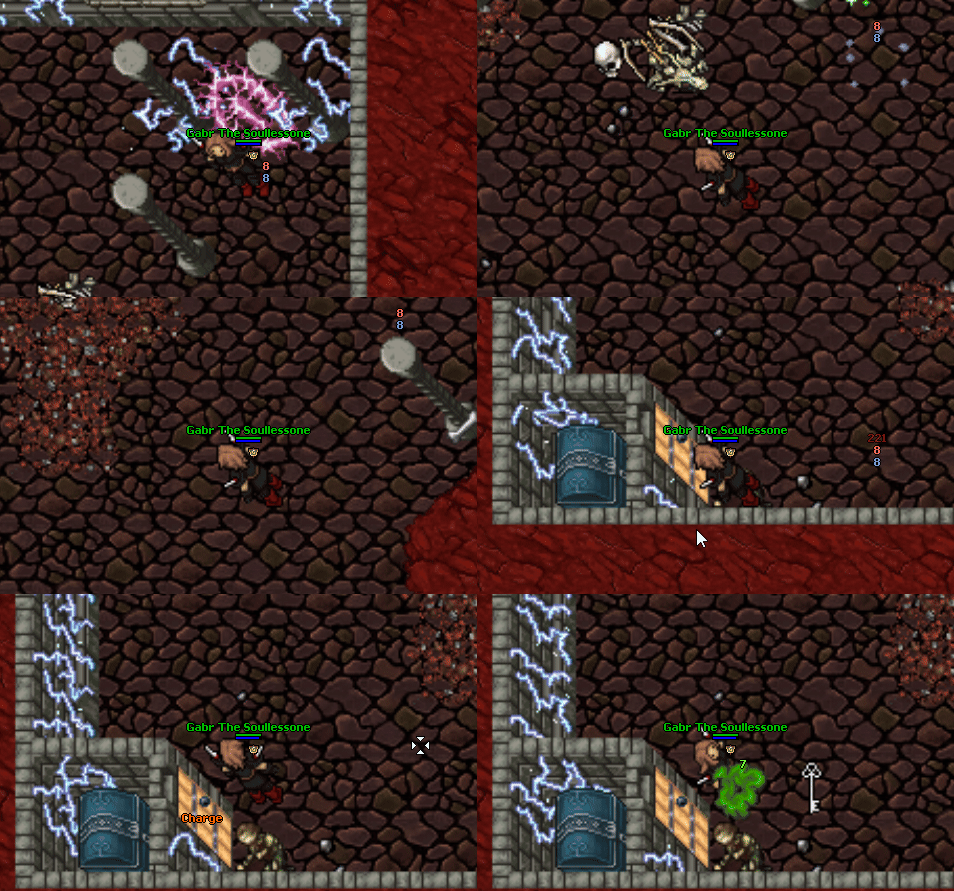
4. Go south-west and pass through the sealed door. Open the chest to get the Bone Key.
You'll only get the key once, so store it in a safe place.
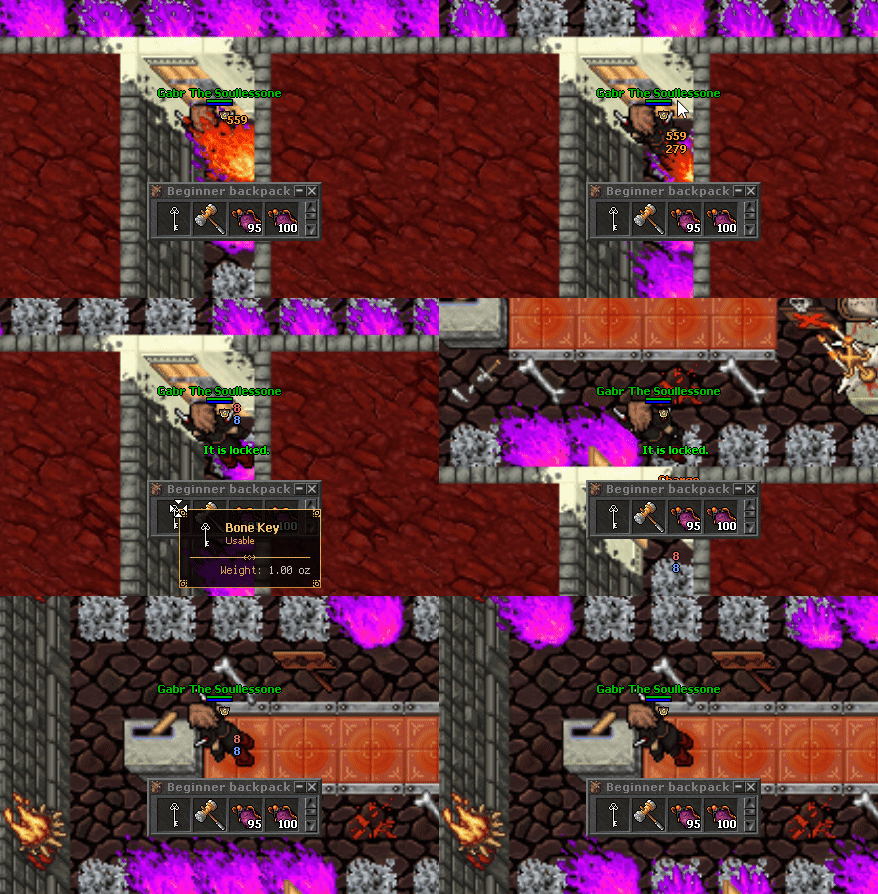
5. Go north-west and follow the maps to find the boss lever.
Use the bone key on the door to unlock it.
6. To face Obliterator, pull the lever.
You can go either solo or with other 4 players.
Mechanics
It is like an Annihilator Quest. This boss has no special mechanics.