Difference between revisions of "Timira The Many-Headed"
| (4 intermediate revisions by the same user not shown) | |||
| Line 1: | Line 1: | ||
== Boss == | == Boss == | ||
| − | <i>To go back to bosses page, [[Bosses|click here]]</i> | + | <i>To go back to bosses page, [[Bosses List|click here]]</i> |
<hr> | <hr> | ||
[[File:Timira the Many-Headed.gif|link=]] | [[File:Timira the Many-Headed.gif|link=]] | ||
| Line 21: | Line 21: | ||
<td align="left" valign="top"> | <td align="left" valign="top"> | ||
<center>'''[[Items|Boss Items]]'''</center> | <center>'''[[Items|Boss Items]]'''</center> | ||
| − | [[File:Boss Coin2.gif|link=]] [[Boss Coin Shop|boss coin]]<br> | + | [[File:Boss Coin2.gif|link=]] [[Boss Coin Shop|1-2x boss coin]]<br> |
[[File:Relic Chest.gif|link=]] [[Relics#Relic_List|relic chest]] | [[File:Relic Chest.gif|link=]] [[Relics#Relic_List|relic chest]] | ||
| − | [[File:Attunement Item | + | [[File:Attunement Item 1.gif|alt=]] [[Soul Attunement|soul of timira the many-headed]] |
[[File:Midnight Tunic.gif|link=]] [[Armors|midnight tunic]] | [[File:Midnight Tunic.gif|link=]] [[Armors|midnight tunic]] | ||
| Line 49: | Line 49: | ||
</td> | </td> | ||
<td align="left" valign="top"> | <td align="left" valign="top"> | ||
| − | <center>''' | + | <center>'''[[Jewelry]]'''</center> |
[[File:Crystal Coin.gif|link=]] 3-6x crystal coin | [[File:Crystal Coin.gif|link=]] 3-6x crystal coin | ||
| − | [[File: | + | [[File:Giant Amethyst.gif|link=]]giant amethyst<br> |
| + | [[File:Giant Ruby.gif|link=]] 1-2x giant ruby | ||
| + | |||
| + | [[File:Giant Emerald.gif|link=]]1-2x giant emerald | ||
| + | |||
| + | [[File:Giant Topaz.gif|link=]]1-2x giant topaz | ||
| + | |||
| + | [[File:Giant Sapphire.gif|link=]]giant sapphire | ||
</td> | </td> | ||
<td align="left" valign="top"> | <td align="left" valign="top"> | ||
| Line 81: | Line 88: | ||
</td> | </td> | ||
<td align="left" valign="top"> | <td align="left" valign="top"> | ||
| − | <center>''' | + | <center>'''Other Items'''</center>[[File:Piece of Timira's Sensors.gif|link=]]piece of timira's sensors<br>[[File:One of Timira's Many Heads.gif|link=]]one of timira's many heads |
| − | [[File: | ||
| − | [[File: | ||
| − | |||
| − | |||
| − | |||
| − | |||
| − | |||
| − | |||
</td> | </td> | ||
</tr> | </tr> | ||
| Line 96: | Line 95: | ||
== Location == | == Location == | ||
<b><u>Requires level 180</b></u><br> | <b><u>Requires level 180</b></u><br> | ||
| − | <b><u>Requires [[The | + | <b><u>Requires [[Within The Tides Quest]]</b></u> |
1. Take the waypoint to <b><i>Aurora - Naga's Temple</b></i> | 1. Take the waypoint to <b><i>Aurora - Naga's Temple</b></i> | ||
Latest revision as of 00:37, 15 August 2026
Boss
To go back to bosses page, click here

Boss Info
 Classification: Archfoe
 Location: Naga's Temple
 Health: 950k
 Experience: 245k
Bosstiary Progress
 Prowess: 5 kills
 Expertise: 20 kills
 Mastery: 40 kills
Loot Table
|
|
|
|
|
|
     |
 piece of timira's sensors piece of timira's sensors one of timira's many heads one of timira's many heads
|


 3-6x crystal coin
 giant amethyst
 1-2x giant ruby
 1-2x giant emerald
 1-2x giant topaz
 giant sapphire
 1-16x ultimate mana potion
 1-16x ultimate spirit potion
 1-16x supreme health potion
 1-5x mastermind potion
 1-5x bullseye potion
 2-5x berserk potion


Location
Requires level 180
Requires Within The Tides Quest
1. Take the waypoint to Aurora - Naga's Temple
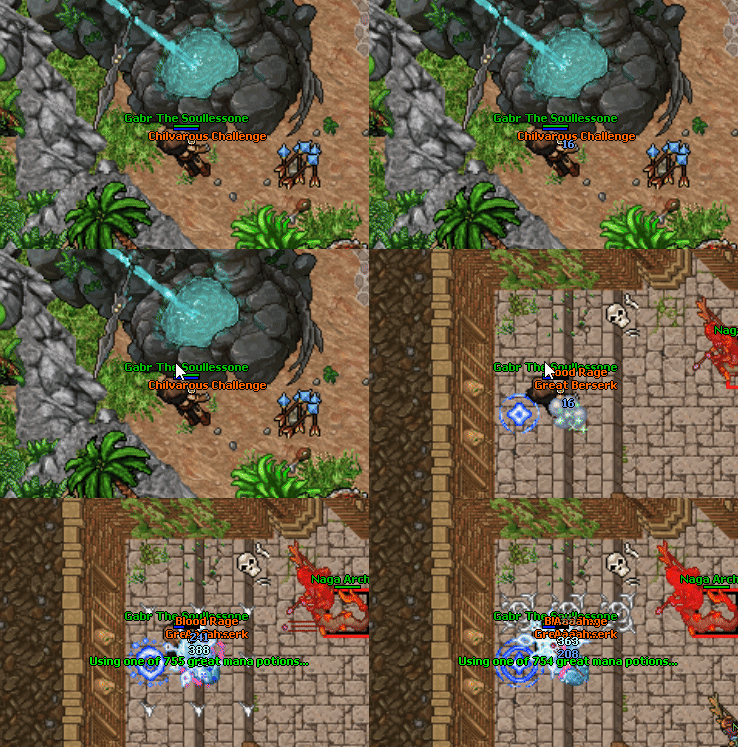
2. Click on the fountain south-west of the waypoint.
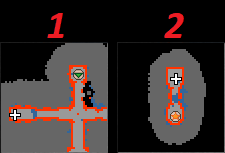
3. Follow the maps to find the lever room.
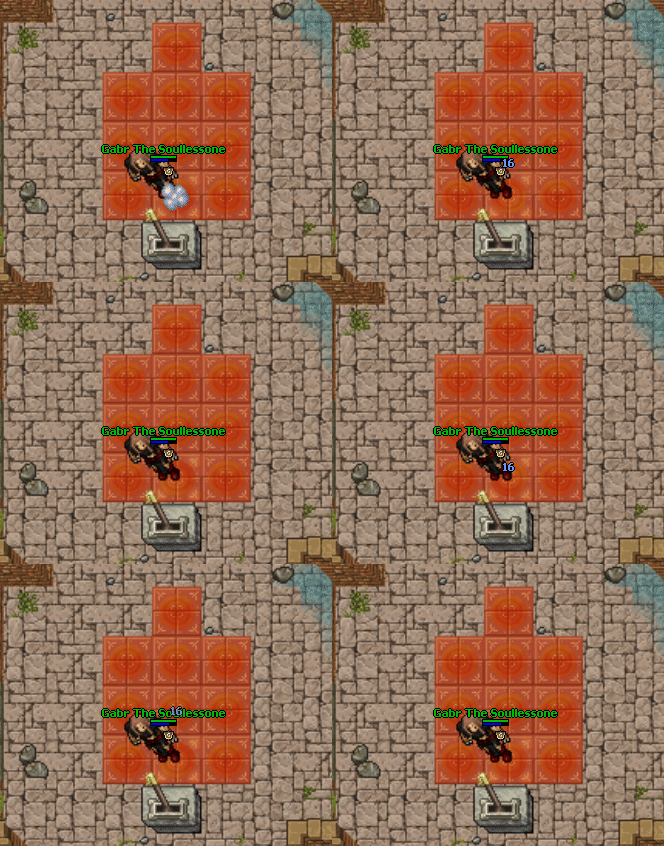
4. Pull the lever to face Timira The Many-Headed.
You can go either solo or with other 9 players.
Mechanics
 On every corner of the room there will be a basin (4 in total)
 On the center of the room there will be a trapped water
 Somewhere around the room it will spawn a bucket
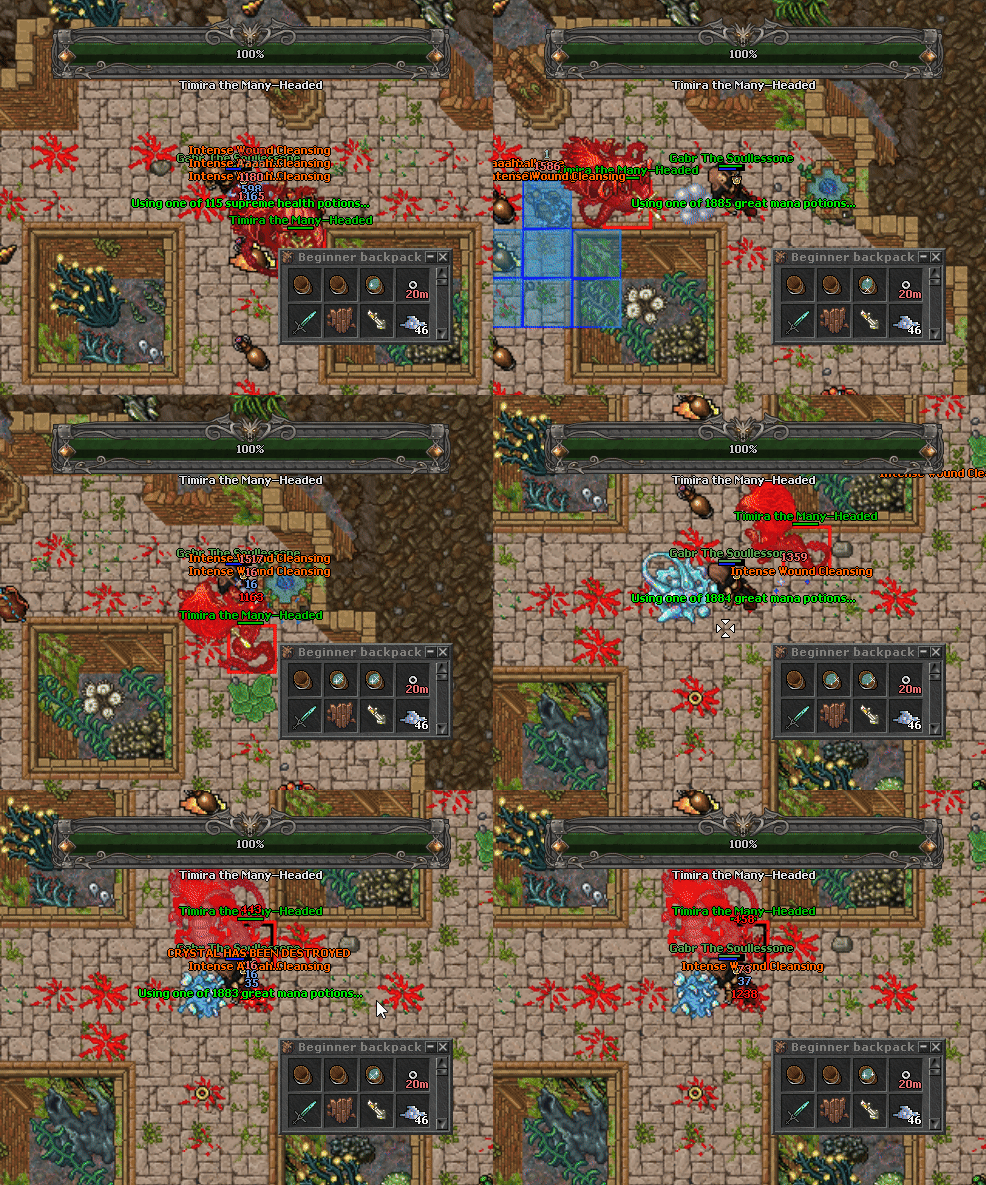
1. Sometimes Timira will be immune to all damage source.
2. Once it happens, grab a bucket and use it on the basin while it is sparkling to turn it into a filled bucket 
3. Use the filled bucket on the trapped water in the center of the room.
4. Once the trapped water gets destroyed, Timira will not be immune anymore.
Repeat it all until the boss is killed.