The Inquisition Quest
The Inquisition Quest
To go back to quests, click here.
A huge thanks to Kaz and Fomoco for helping with this one.
Rewards:
- Access to inquisition blessings
- Choose one reward between:
- emerald sword, hellforged axe, obsidian truncheon, warsinger bow, royal crossbow
- spellbook of dark mysteries, master archer's armor, fireborn giant armor or robe of the underworld
- emerald sword, hellforged axe, obsidian truncheon, warsinger bow, royal crossbow
Requirements:
- Donkey Mount
- Pick
Inquisition Quest doesn't have dialogs with NPCs, all you must do is follow the maps doing some actions.
This will be a linear way to find and destroy The Shadow Nexus.
1. Get the waypoint to "Aurora - Lilzao_Waypoint"
(Check here if you don't have access to the waypoint)
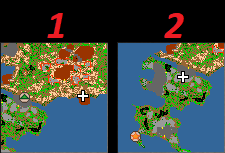
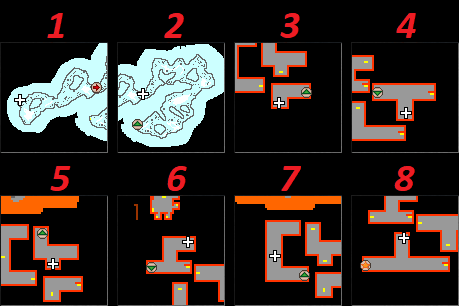
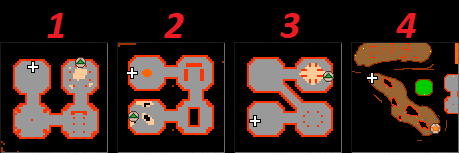
2. Follow the maps below until you find a big stone next to the border of the sea.
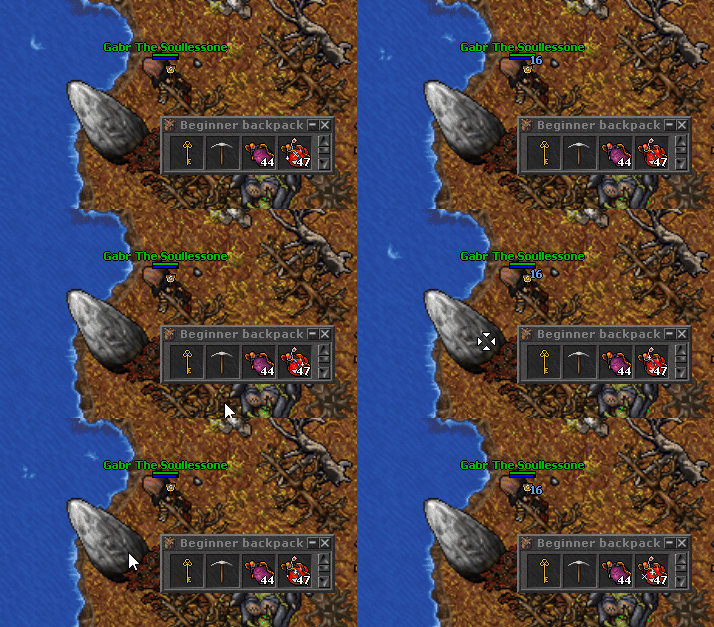
3. Use your pick ![]() on the stone to get the golden key
on the stone to get the golden key ![]()
Leave it on your backpack.
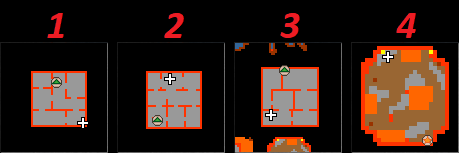
4. Follow the maps until you find the retreat.
- You must be riding the Donkey mount to pass through the door on map 2.
- Still on map 2, consider getting the waypoint and use your shovel on the hole to go underground.
First Seal: The Retreat (Ushuriel)
Note from Sep 07: You don't need to do all seals, as it seems.
1. Slay Ushuriel > 2. Get the Special Flask on underwater Quaras > 3. Return back to retreat > 4. Jump straight to Hellgorak seal.
You don't need to do all other seals, if it changes in the future, I remove this note.
Retreat is a place filled with teleporters straight to the next seals.
Once you kill Ushuriel, you enable the fastforward teleporter to the next seal and so on.
It means that if you die through the quest, you can get back to the seal without needing to re-do the entire quest.
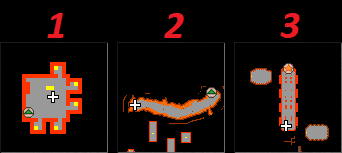
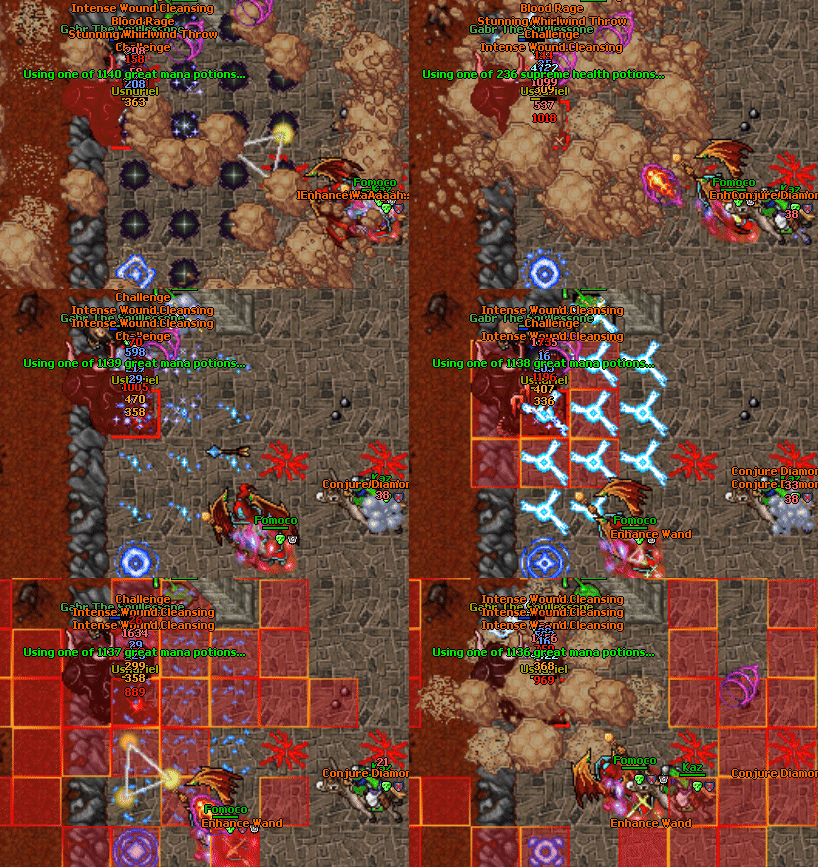
1. Follow the maps until you find Ushuriel.
2. Fight and defeat Ushuriel, then, jump on the teleport on the center of the room.
Second Seal: The Crystal Caves (Zugurosh)
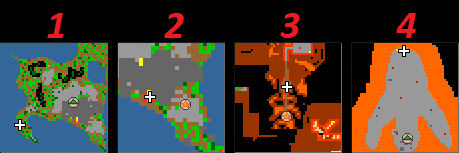
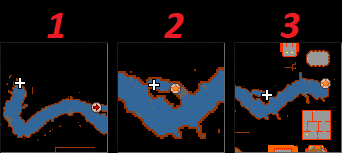
1. Follow the maps until you reach underwater quaras.
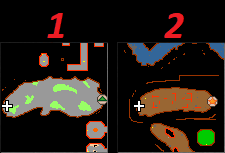
2. Now, follow the maps but pay attention to the map 2.
On map 2, take the special flask ![]() in a chest on the middle of the map.
in a chest on the middle of the map.
Then, head to the star marker on the map 3 with the flask on your inventory.
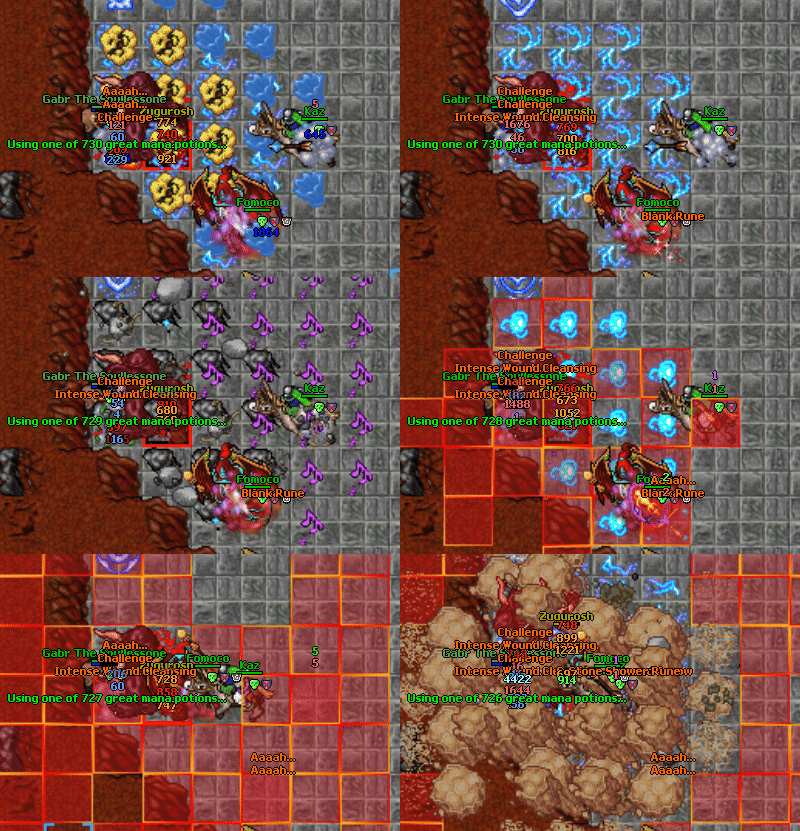
3. Fight and defeat Zugurosh, then, jump on the teleport on the center of the room.
Third Seal: The Blood Halls (Madareth)
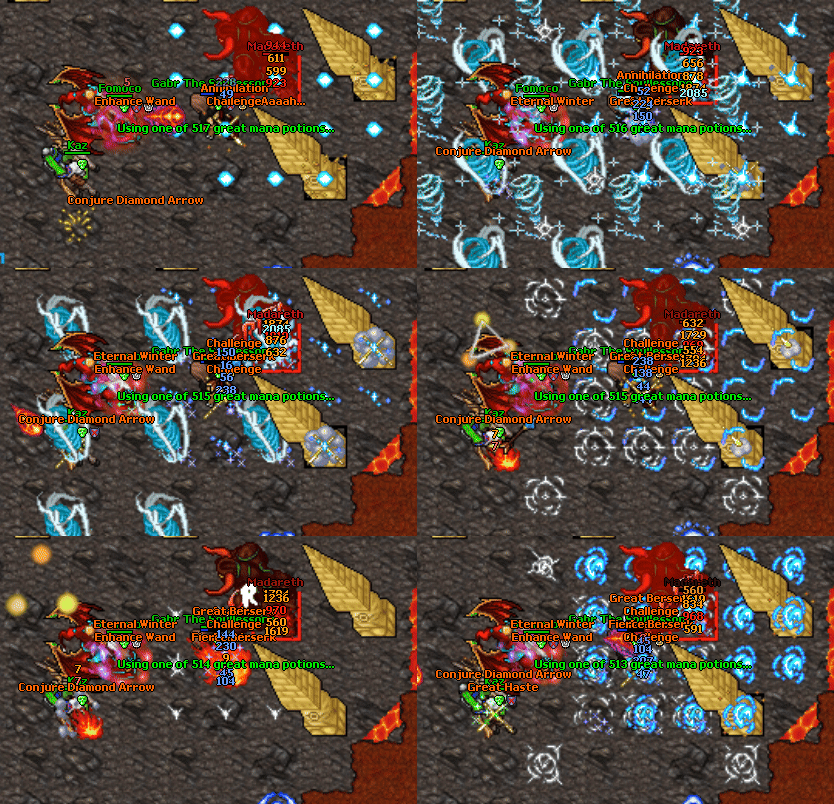
1. Follow the maps until you find Madareth.
2. Fight and defeat Madareth, then, jump on the teleport on the center of the room.
Fourth Seal: The Vats (The Twins)
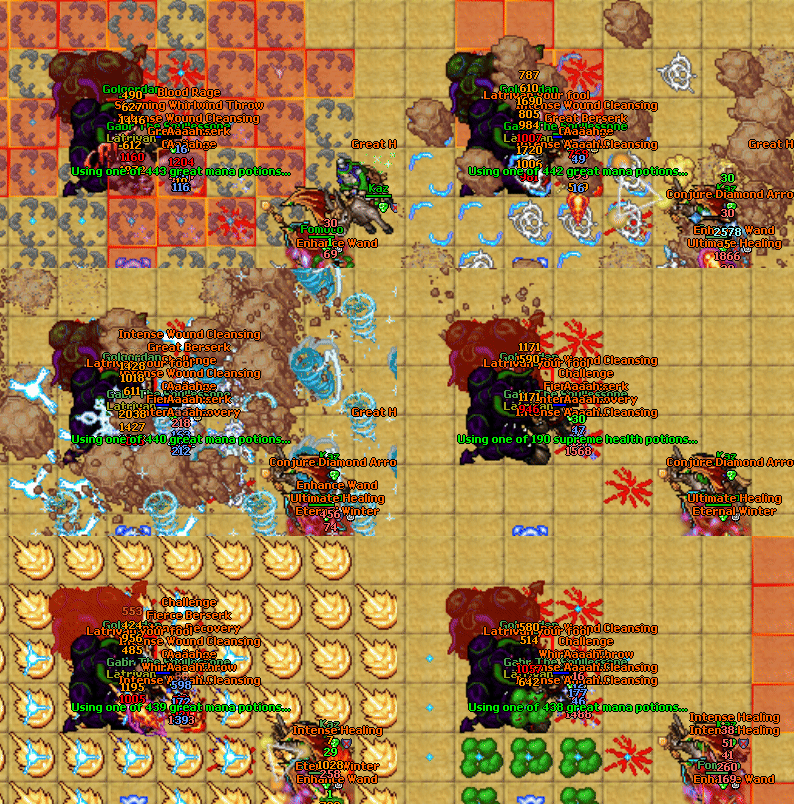
1. Follow the maps until you find the twins.
2. Fight and defeat Latrivan and Golgordan, then, jump on the teleport on the center of the room.
Fifth Seal: The Arcanum (Annihilon)
1. Follow the maps until you find Annihilon.
2. Fight and defeat Annihilon, then, jump on the teleport on the center of the room.
Sixth Seal: The Hive (Hellgorak)
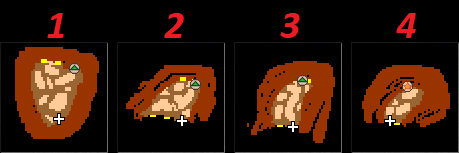
1. Follow the maps until you find Hellgorak.
2. Fight and defeat Hellgorak, then, jump on the teleport on the center of the room.
The Shadow Nexus
From this point on, if you die, you will have to re-do the entire sixth seal again.
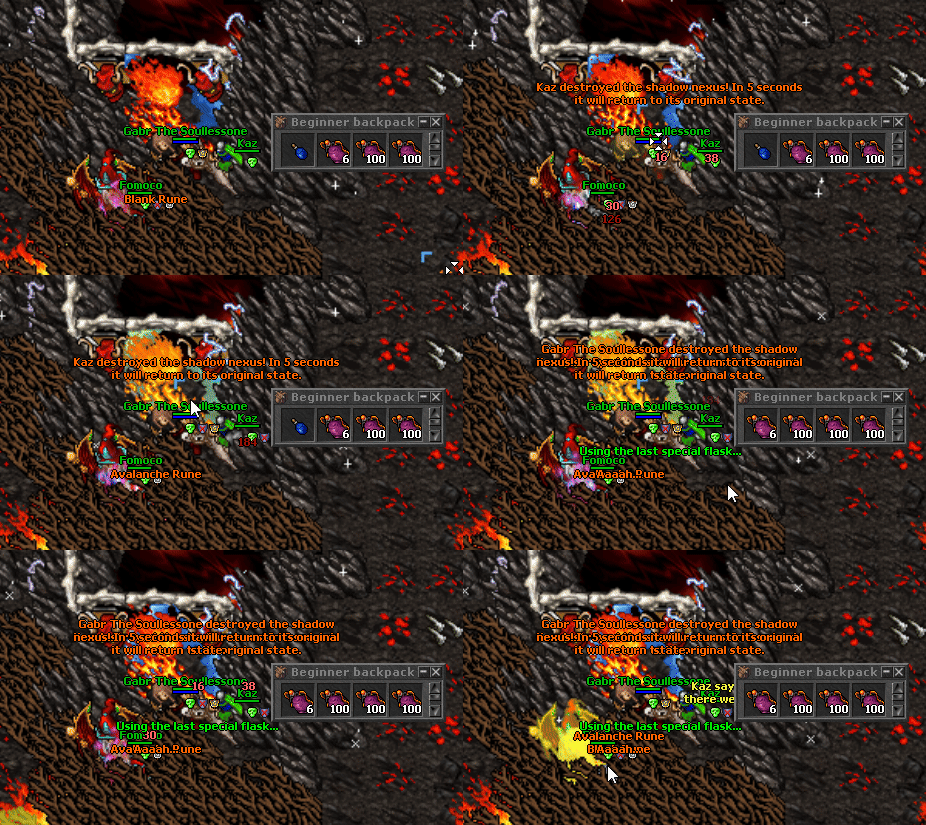
1. Go to the center of the map until you find a magic wall, it is the shadow nexus.
2. Repeatedly, use your special flask ![]() on the magic wall until it disappears.
on the magic wall until it disappears.
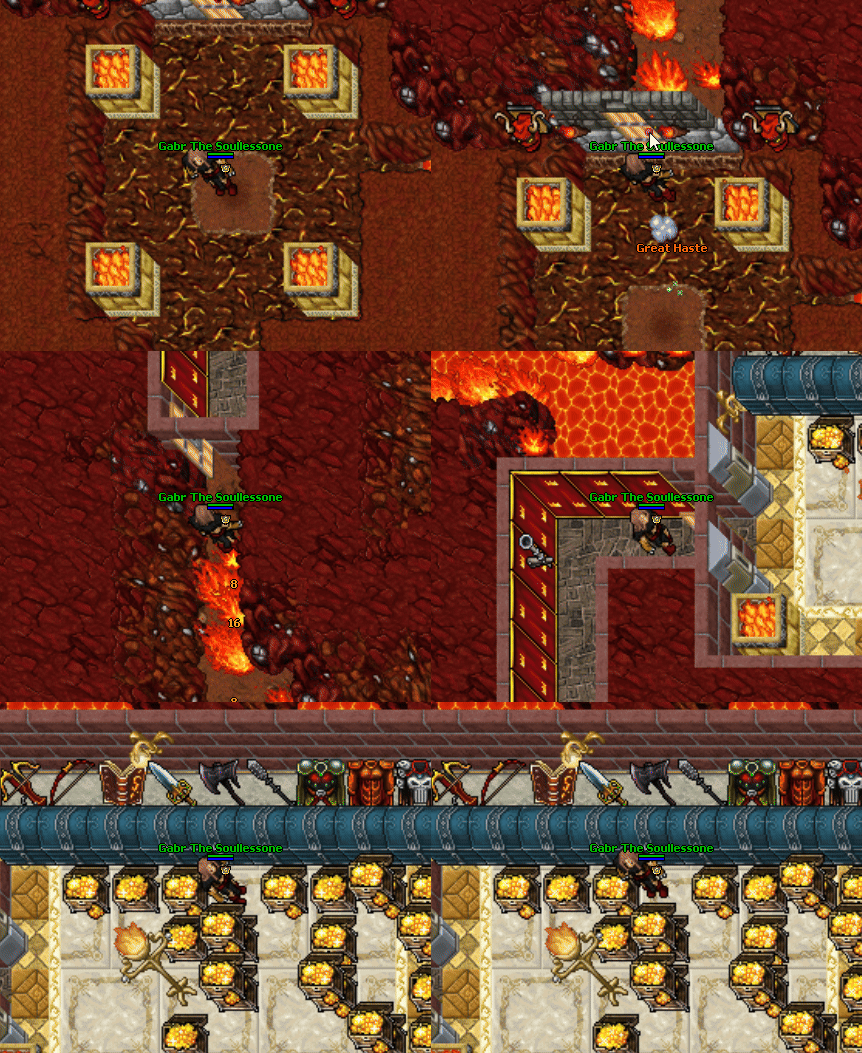
3. Escape back to retreat, go down the stairs and take the teleporter back to the two sealed door rooms.
4. Get the sealed door to the north, and choose one reward.
Now, you will be able to access a shortcut to buy blessings
